
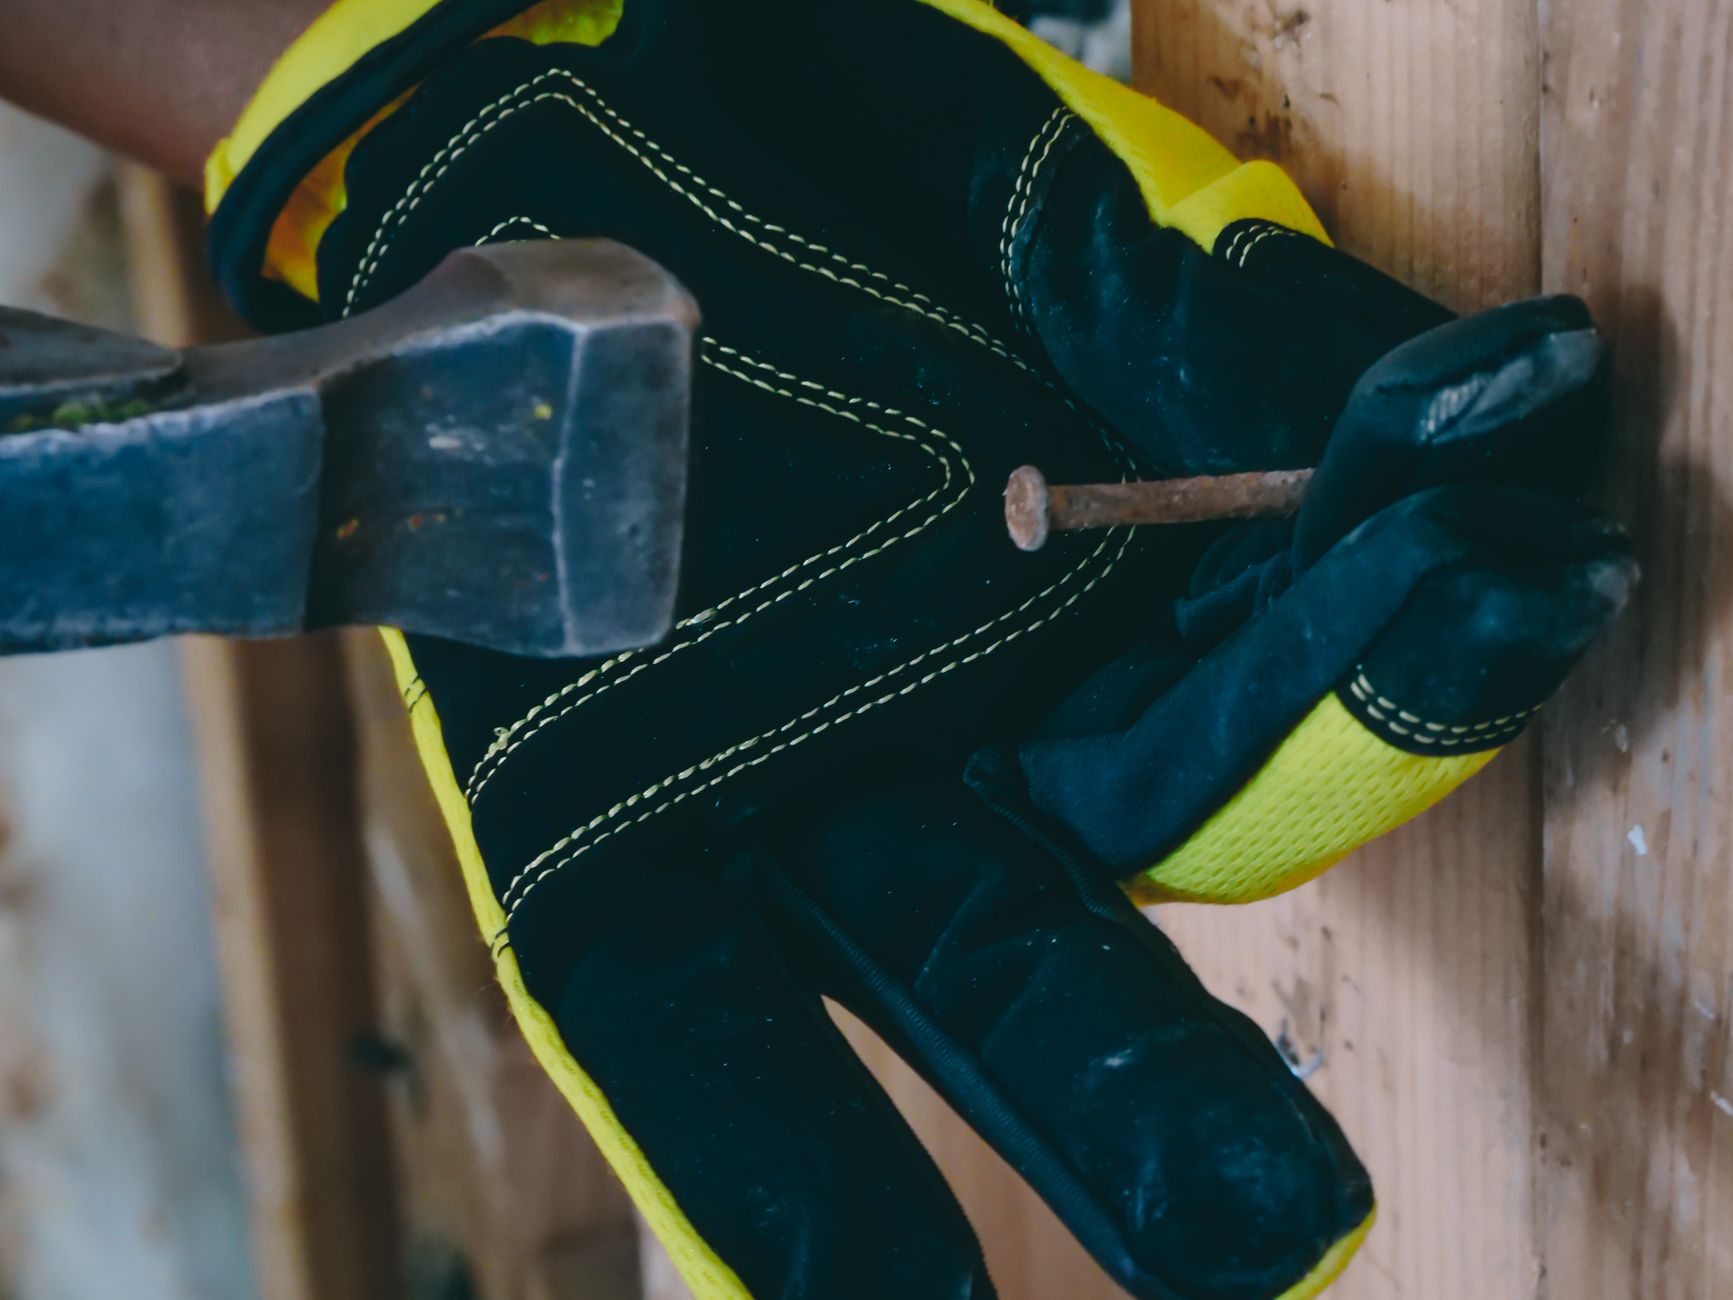

A single firm tap should land on the starter’s metal housing, never on the wires, solenoid posts, or pinion gear. A light tap can free stuck brushes or contacts for a moment, but only after you’ve ruled out a weak battery, loose cables, and a bad ground.
This guide covers the quick checks and careful tapping technique that can help when a car won’t crank, showing where the starter can be tapped safely and how to tell if the fault lies elsewhere.
Reading The No-Crank Symptom
A clean start sounds simple: the starter engages, the engine turns, and the crank begins within a second or two. Silence, a single click, or a slow groan points in different directions, because the battery, starter circuit, and ignition path each leave their own clues.
Even a fully charged battery can fail at the terminals. Corrosion adds resistance, loose clamps break the flow, and a weak ground strap can starve the starter motor while the dash lights still come on.
The starter usually sits low on the engine block or on the transmission bellhousing. On many front-wheel-drive cars, it’s easier to reach from underneath, while some trucks leave a side view near the flywheel area.
What The Sound Gives Away
A single click usually means the relay or solenoid moved, but the motor didn’t spin. Rapid clicking often points to low battery voltage, since the solenoid pulls in, drops out, and repeats as current falls.
Complete silence can mean an open circuit, a failed ignition switch path, or a starter that no longer responds at all. That’s why where to hit starter with a hammer only matters after you’ve listened closely to the symptom.
Where The Starter Sits
The starter motor meshes with the flywheel or flexplate through a small pinion gear. That layout matters because the housing is the part you can tap, while the gear teeth and solenoid terminals need to stay untouched.
BMW, Ford, Honda, Toyota, and GM all arrange things a little differently, yet the starter still lives where the crankshaft drive can reach it. A service manual or underhood diagram helps you spot the exact casting before you pick up a hammer.
Once the sound and location make sense, the next step is choosing the right place to tap and steering clear of parts that can break.
That sound and location point to a practical test, while fragile parts demand a careful touch.
Finding The Right Place To Tap
The safest strike lands on the starter housing, not on the wires, the solenoid posts, or the pinion gear. A light tap on the body gives the internals a brief nudge without disturbing the electrical contact points you still need intact.
A hammer here is a diagnostic tool, not a fix. Hard blows can crack the housing, deform the brush plate, or tear a cable lug loose, which turns a no-crank problem into a bigger one.
Use The Housing As The Target
The cylindrical or cast-metal body gives the safest contact area because it absorbs a light shock. Aim near the main motor case, close to the center section, and stay away from the electrical terminals on the starter solenoid.
That placement matters because the pinion gear rides on a drive shaft and needs clean movement. Hitting the wrong spot can jam gear engagement instead of loosening it.
Keep The Strike Gentle
A soft rubber mallet or the handle end of a small hammer is enough for a diagnostic tap. The goal is a brief vibration, not a dent, and not the kind of force that leaves a cracked housing behind.
Use just enough force to jar the case, then stop. A loud hit can break insulation, loosen a cable, or damage the windings inside the motor.
That restraint protects the starter and the surrounding wiring, especially on older vehicles where heat has already hardened the loom. From here, the reason the tap works starts to make sense.
Inside the starter, the tap isn’t magic; it’s a mechanical reset for parts that are already worn to the edge of failure.
Worn components often respond to that nudge because the jolt briefly restores contact inside the starter.
Why A Light Tap Sometimes Works
A worn starter can hang up when the brushes no longer slide freely against the commutator. A light tap can shift those brushes for a moment, restore electrical contact, and let the armature spin long enough to crank the engine.
The same trick can wake sticky solenoid contacts. Inside the starter solenoid, high current passes through contact surfaces that pit and wear over time, so a jar can bridge a weak spot for one more start.
Brushes And Contacts Move Again
Carbon brushes wear down as they carry current to the spinning armature. When they hang in their guides, the motor gets power one moment and none the next, which creates the classic starter-motor-stuck behavior.
That temporary recovery is a clue, not a cure. A tap that works tells you the internal wear is real, even if the engine starts and the problem seems to disappear for a while.
Solenoid Trouble Can Act The Same Way
The starter solenoid pulls a plunger that closes the main current path and pushes the pinion toward the flywheel. Pitted contacts or a sticky plunger can leave you with a click and no cranking until vibration frees the mechanism.
Delco Remy and Bosch starter designs use the same basic path, even though the housings differ. The parts wear from heat, arcing, and repeated high-current use, so the tap test works by disturbing a fault that’s already there.
That internal wear often looks like a battery problem first, so the next check needs to separate weak power from a failing motor.
A weak battery can mimic the same symptom, so voltage and motor behavior must be sorted apart.
Separating Starter Trouble From Battery Trouble
A weak battery can mimic a bad starter with surprising accuracy. Low voltage slows the motor, weak clamps drop current at the wrong moment, and a bad ground can send you chasing the starter when the real problem sits at the battery posts.
Check the terminals before blaming the motor. White or green corrosion, a loose clamp that twists by hand, and frayed cable ends all reduce current flow enough to create an engine-won’t-crank complaint.
Check Voltage And Cable Quality
- Battery voltage: A resting battery near 12.6 volts is healthy enough to start most vehicles.
- Loose clamps: A clamp that moves on the post can interrupt current as soon as the key turns.
- Corroded ends: Powdery buildup raises resistance and steals cranking current.
- Ground strap: A damaged engine ground can stop the starter from completing the circuit.
- Cable condition: Swollen, cracked, or stiff cable insulation often hides internal wire damage.
Those checks matter because the starter circuit is a series path. Battery, cables, relay, solenoid, and motor all need clean electrical contact, so a fault anywhere in that chain can look like one bad part.
Repeated No-Crank Results Point Elsewhere
When a tap produces no change after a solid battery check, the starter or starter solenoid moves higher on the list. Repeated silence after the same light strike means the internal fault is no longer responding to vibration.
A scan tool can add another clue on vehicles with smart charging and computer-controlled starting. The body control module may log a low-voltage event, a relay fault, or a start authorization issue that keeps you from chasing the wrong part.
Once the battery checks out, the tap itself shows how far the internal wear has progressed and whether replacement is close.
When power is fine, the tap reveals whether the starter’s wear is minor hesitation or near-total failure.
What The Tap Tells You About The Starter

A crank after tapping usually means the starter is failing and should be replaced soon. The tap only moved worn brushes, sticky contacts, or a tired solenoid far enough to make one more cycle.
That short rescue isn’t a real repair. If the motor needs a hammer to wake up once, it’s already living on borrowed time, and where to hit starter with a hammer becomes less useful than planning the replacement.
A One-Time Rescue Is Not A Cure
The internal wear keeps moving forward after the engine starts. Heat, vibration, and repeated current draw keep wearing the commutator and contact surfaces, so the next no-crank event can arrive without warning.
Exide and Interstate batteries often get blamed in these moments, yet a strong battery paired with a failing starter still leaves you stranded. The symptom shift matters: the battery may spin accessories, but the starter refuses to engage under load.
Repeated Failure Means Deeper Wear
When tapping stops helping, the fault is usually inside the motor or solenoid. An open winding, a burnt contact set, or a jammed plunger can leave the circuit open even though the outside of the starter looks fine.
Automotive engineer Robert Bosch built early electric starting systems around the same logic you see now: current in, rotation out, then mechanical wear over time. The physics hasn’t changed, only the packaging has.
Before you replace anything, a few safety checks keep the job from turning into a second repair.
With the diagnosis clearer, precautions matter before any wrench work or part swap begins.
Safe Next Steps Before Replacing Parts
Put the vehicle in park or neutral, set the parking brake, and keep hands clear of belts and pulleys. A starter often sits close to the exhaust and moving drivetrain parts, so a quick reach can turn into a painful mistake.
Confirm the battery, the terminals, and the ground path before spending money on a replacement. A simple multimeter check, a clamp inspection, and a look for heat-darkened cables can save you from swapping parts that still work.
Work from the easiest checks outward. A clean battery post and a tight ground strap can solve the same symptom that sends people straight to the starter housing.
Practical Choices After The Tap Test
- Inspect the cables: Look for looseness, corrosion, and cracked insulation at both battery posts.
- Test battery strength: Use a meter or load test so you know the voltage under starting demand.
- Listen for relay action: A relay click without crank points toward the starter circuit, not the engine itself.
- Replace the starter: Plan a replacement soon after a successful tap, because the fault is already inside.
The safest answer to where to hit starter with a hammer is short and plain: hit the housing lightly, only as a diagnostic step, and only after the basic electrical checks are done. Once the engine starts, the real fix still waits.
That diagnostic tap belongs only to a careful check, but a starting engine can still signal deeper repairs ahead.
Wrap Up
A starter that wakes up after a tap is telling you something specific: its internal parts are worn, sticky, or both. Clean terminals and a healthy battery still deserve attention, but a hammer never repairs the fault. It only gives you a temporary clue about where the real failure lives.
FAQ
Where do you hit a starter with a hammer?
You hit the metal housing of the starter motor, not the wires, solenoid terminals, or pinion gear. A light tap on the body is enough to jar worn brushes or contacts for a moment.
Why does tapping a starter sometimes make it work?
The tap can free brushes that hang in place or nudge sticky solenoid contacts into conduction. That brief recovery points to internal wear inside the starter, not a lasting fix.
Where to hit a bad starter to get it going?
Tap the starter case lightly near the motor body, usually close to the middle section of the unit. Stay away from the cable posts and gear end, because damage there can create a bigger fault.
How do you know if the starter or battery is bad?
Check battery voltage, terminal tightness, and cable corrosion before blaming the starter. A strong battery with clean connections and repeated no-crank results after a tap points more strongly to the starter or solenoid.
What causes a starter motor to fail?
Brush wear, burned contacts, sticky solenoids, heat damage, and worn internal bearings all shorten starter life. Each of those faults can leave you with a click, silence, or a crank that only appears after vibration.
Should you keep hitting a starter until it works?
No. Repeated strikes can crack the housing, loosen wiring, or damage nearby parts, and the underlying wear remains. A starter that needs several blows is ready for replacement, not more force.