
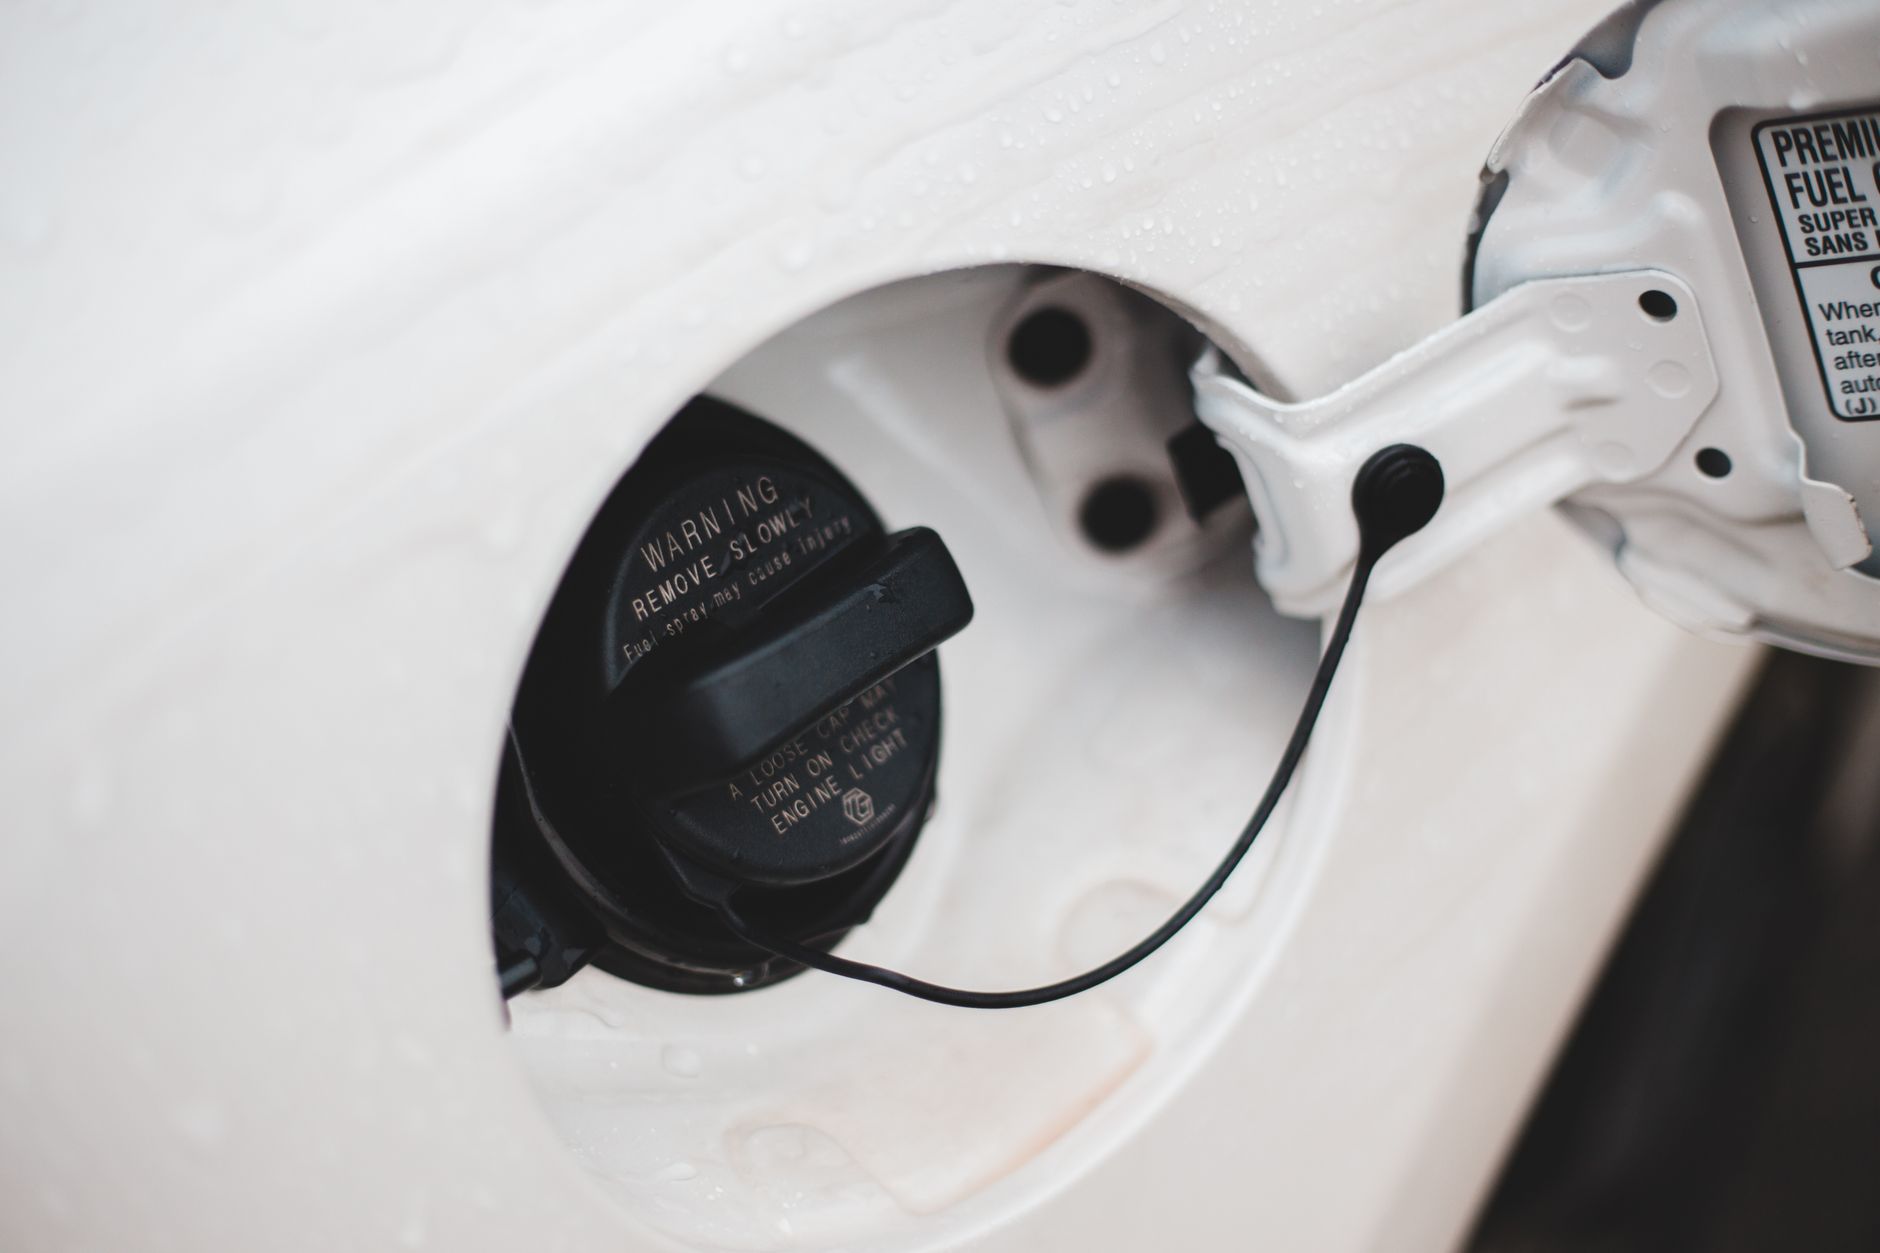

A quick seal check starts with inspecting the gasket, threads, and click or lock at the filler neck. A cracked seal or loose fit can let fuel vapor escape and turn on a check engine light.
This walkthrough covers driveway checks, pressure or vacuum testing, and the clues that separate a worn cap from a deeper EVAP leak diagnosis for anyone chasing a warning after refueling.
Why A Gas Cap Can Set An EVAP Code
Fuel vapor has to stay contained for the evaporative system to hold pressure and spot losses. If the cap doesn’t seal, vapor escapes, tank pressure shifts, and the OBD-II monitor sees a leak.
P0455 is the classic large-leak code tied to this setup. A cap is a common cause, but hoses, valves, and the charcoal canister can fail too, so starting here saves time before you dig into the rest of the system.
How the leak path forms
The fuel tank stays sealed except for controlled venting. Once the cap stops sitting flat, the tank can’t hold vapor, and the fuel tank pressure sensor reports a change the computer didn’t expect.
That pressure shift can be tiny and still trip the monitor after the EVAP drive cycle runs. A cap can look normal from a few feet away and still leak at a hardened O-ring or a thread that no longer pulls the cap straight.
Why the cap deserves the first look
An automotive fuel cap is easy to reach and simple to inspect, so it belongs at the front of the diagnosis. A smoke machine later in the process may point to a line or valve, but the cap can often be ruled in or out within minutes.
That logic matters after a fill-up, since a loose cap is one of the cleanest explanations for bad gas cap symptoms and a large EVAP leak code. The next step is to see whether the seal itself is still sound.
A worn seal often shows its first weakness as a faint hiss, a loose fit, or fuel odor near the filler.
First Signs The Seal Is Failing
A healthy cap feels firm as it tightens, then stops with a clear click or lock. A weak one turns without that final stop, or it feels loose again after you snug it down.
The gasket usually tells the rest of the story. Cracks, hardening, swelling, or missing sections on the seal point to poor contact, and the filler neck can be just as guilty if dirt or cross-threading keeps the cap from sitting square.
What the cap feel tells you
The click isn’t cosmetic. It shows that the ratchet or locking feature has reached the designed stop, which helps the cap press the seal against the neck with repeatable force.
One common scene is a cap that tightens, then rocks back a hair in your hand. That small movement can open a vacuum leak path during the EVAP check.
What the gasket and neck reveal
Look for an O-ring seal that has gone flat, shiny, or brittle on one side. A swollen gasket can fold instead of compress, and a missing section leaves a direct escape path for vapor.
The filler neck deserves equal attention. Rust flakes, dust, old fuel residue, and damaged threads keep the cap from mating cleanly, so the cap may look bad even though the real fault sits on the neck. That sets up the next step: a hands-on gas cap leak test.
That doubt makes a simple leak check worthwhile, especially when the problem hides at the filler neck.
A Simple Gas Cap Leak Test At Home
Start with a dry paper towel, a bright light, and clean fingers. Remove the cap, inspect the underside, reinstall it, then turn until it clicks or locks as intended so you know the seating action is correct.
From there, a handheld vacuum or pressure tester gives a cleaner answer than guesswork. The cap should hold seal under light load, and the contact line around the gasket should look even rather than marked on just one side.
Inspection and reinstallation
- Clean the cap face Wipe fuel film and grit off the sealing surface so dirt doesn’t mimic a failed cap.
- Check the gasket ring Look for cracks, hard spots, swelling, or sections that have lifted out of the groove.
- Inspect the threads Run your eye around the cap and neck for burrs, cross-threading, or bent metal.
- Reinstall firmly Turn the cap until it clicks or locks, then give it a small extra check by hand.
Vacuum and pressure checks
A simple fuel cap pressure test uses a hand pump or similar tool to place mild stress on the cap seal. If the gauge drops fast, the cap isn’t holding the way it should, even though it may still look acceptable outside the tool.
That physical result matters because the cap has to seal under changing tank pressure, not just at rest. Fuel vapor expands with heat, and a weak seal fails sooner on a hot day after a fill-up than on a cool morning.
Temperature shifts can expose a marginal seal, which is why a smoke test can reveal leaks a cold check misses.
A clean, even contact ring is the clue you want. One-sided polishing, damp fuel residue, or a crooked imprint usually points to cap seating trouble rather than a deep EVAP fault.
What Smoke Testing Adds To The Diagnosis
A smoke machine shows what your eyes miss. It fills the EVAP system with visible vapor, and any leak at the cap, the neck opening, or the threads gives off a clear plume instead of a vague code on a scan tool.
That matters because some caps fail only under slight pressure, and some filler necks deform just enough to leak at one corner. Smoke around the cap points to the sealing surface or hardware right there, not automatically to the purge valve or canister.
Where smoke escapes first
Smoke at the cap face means the gasket isn’t matching the neck. Smoke at the threads points to damaged hardware or dirt that blocks full closure, and smoke from the neck opening can reveal a bent lip or rust at the rim.
Professional shops use this method because it turns an invisible vapor leak into a visible source. On a truck with a rough fuel neck, that one clue can save a lot of unnecessary parts chasing.
What the smoke pattern tells you
Thin wisps near the cap usually mean a sealing-surface issue, while a heavier stream from below the neck can hint at a split hose or tank-side leak. The pattern matters more than the cloud itself.
So if the smoke stays at the cap, the cap stays in the spotlight. That result narrows the job before you spend time on the rest of the evap leak diagnosis.
If smoke escapes around the cap, attention shifts from guessing to fixing the easiest fault first.
Quick Repairs Before You Replace The Cap

Grime causes more false alarms than many drivers expect. A ring of dirt on the filler neck can break seal contact, and a cap that was only hand-loose can light the lamp even though the hardware itself is still usable.
Clean the sealing surfaces, wipe the threads, and reseat the cap with a firm twist. That quick reset solves the problem in some cases, especially after a refuel when the cap was left half-locked or the gasket picked up dust from a station lot.
Simple fixes that make sense
- Clean the neck Use a lint-free cloth to remove grit, fuel film, and rust dust from the rim.
- Wipe the gasket Remove debris from the seal face so the cap can press evenly.
- Retighten correctly Turn until the cap clicks or locks, then stop instead of forcing it.
- Reseat the cap Remove it and reinstall it once more if the threads felt off the last time.
A repeat tighten helps only when the seal material still has shape left. Once the gasket has hardened or the housing is cracked, extra torque just masks the real fault for a short time.
That is where your judgment matters, because repeated hand-tightening can wear the neck and cap together in the wrong way. A cap that keeps losing seal after a clean reinstall has moved beyond a simple cleanup fix.
Cleaning helps only when grime is the culprit; persistent leakage points to a cap that no longer seats properly.
When A New Cap Is The Right Call
A cracked shell, a split gasket, or a failed vacuum, pressure, or smoke check points straight to replacement. Those faults leave no useful margin, and the cap cannot hold vapor the way the evaporative emissions system expects.
The part also has a short, plain symptom list: fuel smell near the rear of the vehicle, a check engine light, and a code like P0455 after the system runs its monitor. After tightening or swapping the cap, the light may stay on for several drive cycles until the OBD-II monitor retests and clears the fault on its own.
Replacement signs you should not ignore
Choose a new cap when the rubber feels glassy, the plastic housing is warped, or the locking ears don’t grip anymore. A cap that passes one driveway check but fails under a smoke test still belongs on the replacement list.
Using how to test a gas cap for leaks as a routine check makes the decision easier. Once the seal, the fit, and the pressure response all point the same way, the fix stops being a guess.
Engineers at SAE publish EVAP leak standards that force the system to watch for tiny vapor losses. That is why a small seal defect can set a warning even while the truck drives normally.
James Clerk Maxwell is famous for field theory, but the practical idea here is simpler: pressure seeks the easiest exit. A weak cap gives fuel vapor that exit, and the system flags the mismatch before smell or mileage changes turn obvious.
When replacement is the fix, the warning clears before the vapor system keeps chasing the cheapest path out.
Final Thoughts
A gas cap leak check works best as a sequence, not a single glance. Clean the seal, confirm the click, inspect the neck, then use a vacuum, pressure, or smoke tool when the visual clues don’t settle it, and you avoid replacing parts that still have service left.
FAQ
How do you test a gas cap for leaks at home?
Remove the cap, inspect the gasket, clean the seal surfaces, then reinstall it until it clicks or locks. A hand vacuum or pressure tool gives a clearer answer, and smoke near the cap confirms a sealing problem.
Can a bad gas cap cause an EVAP leak code?
Yes. A loose or damaged cap can vent fuel vapor and trigger a large EVAP code such as P0455, especially after refueling or during a drive cycle that checks tank pressure.
What are the symptoms of a faulty gas cap?
Common signs include a check engine light, fuel smell near the rear of the vehicle, a cap that feels loose after tightening, and a gasket that looks cracked, hard, or swollen.
How can you fix a gas cap leak without replacing it?
Clean the filler neck and cap seal, remove grit from the threads, and reinstall the cap until it clicks or locks. That helps when dirt or a loose cap caused the leak, but a worn seal still needs replacement.
What is a gas cap test during diagnostics?
It is a check of cap fit, seal quality, and pressure holding ability. Technicians may inspect the gasket, confirm cap seating, and use a vacuum, pressure, or smoke setup to see whether vapor escapes at the cap or neck.